Thanks for the tips and encouraging comments. All really useful!
You'll see the master plan as it unfolds - don't worry, it won't be long. I'll also run through some approx. costs at the end. Anyway on to...
Day 7 I didn't get a huge amount achieved today as I started late due to an epic hangover. Anyway, first job was to re-measure mark and trim the skinny bit of the ceiling. Predictably, as the carpet was so f***ing thick I needed to trim quite a bit. Then it was covered in the remainder of the stone carpet and screwed up. I'm pretty satisfied with it.
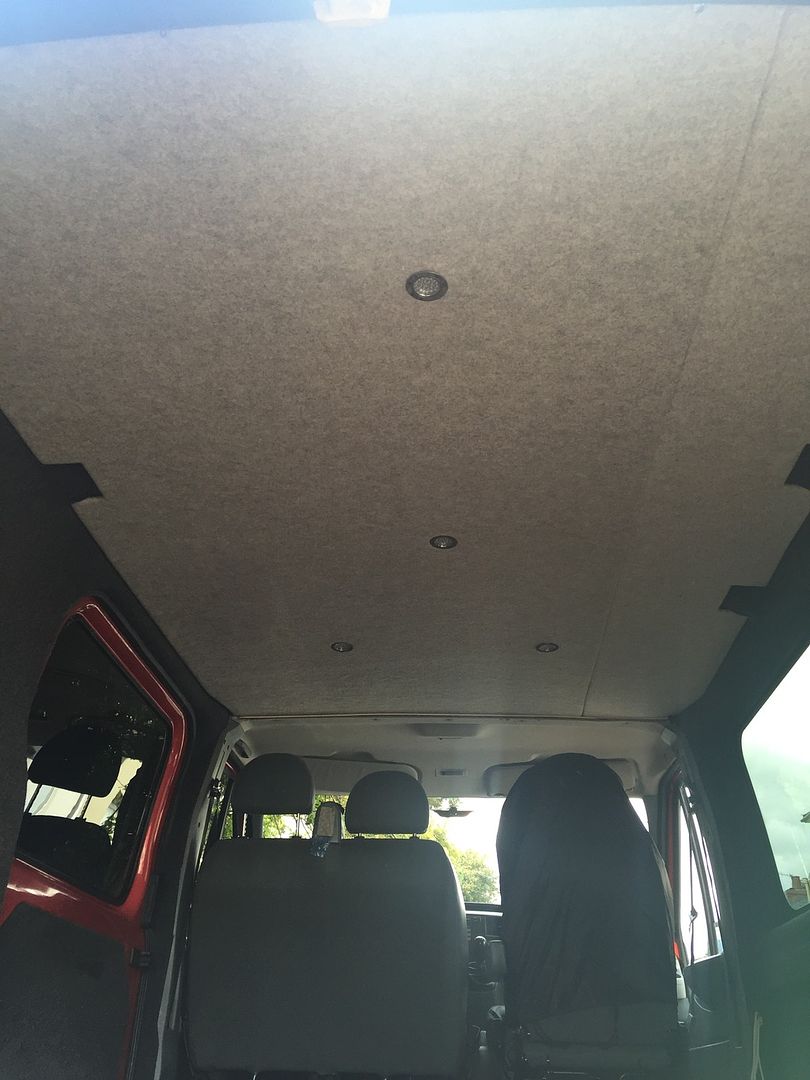
Voila, stage 1 complete. I now have a quiet, dry, insulated van.
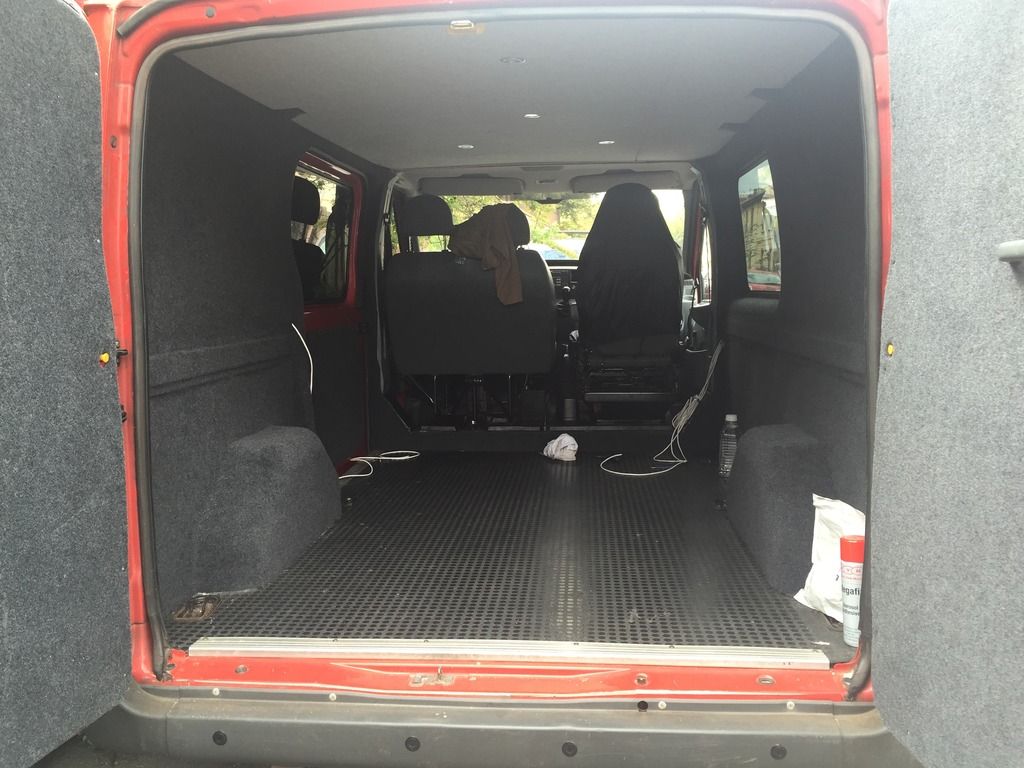
Next comes stage 2 - the fit out! Conveniently, there was a local chap on gumtree selling the entire contents of his campervan. As luck would have it, it was a transit (LWB, med roof). It had failed an MoT due to rust and was scrapped, and he'd salvaged the interior to sell. I bought the lot.
This means I have all ready to go:
sofa/bed
3 way fridge
cooker
sink
plumbing
wiring
cabinets
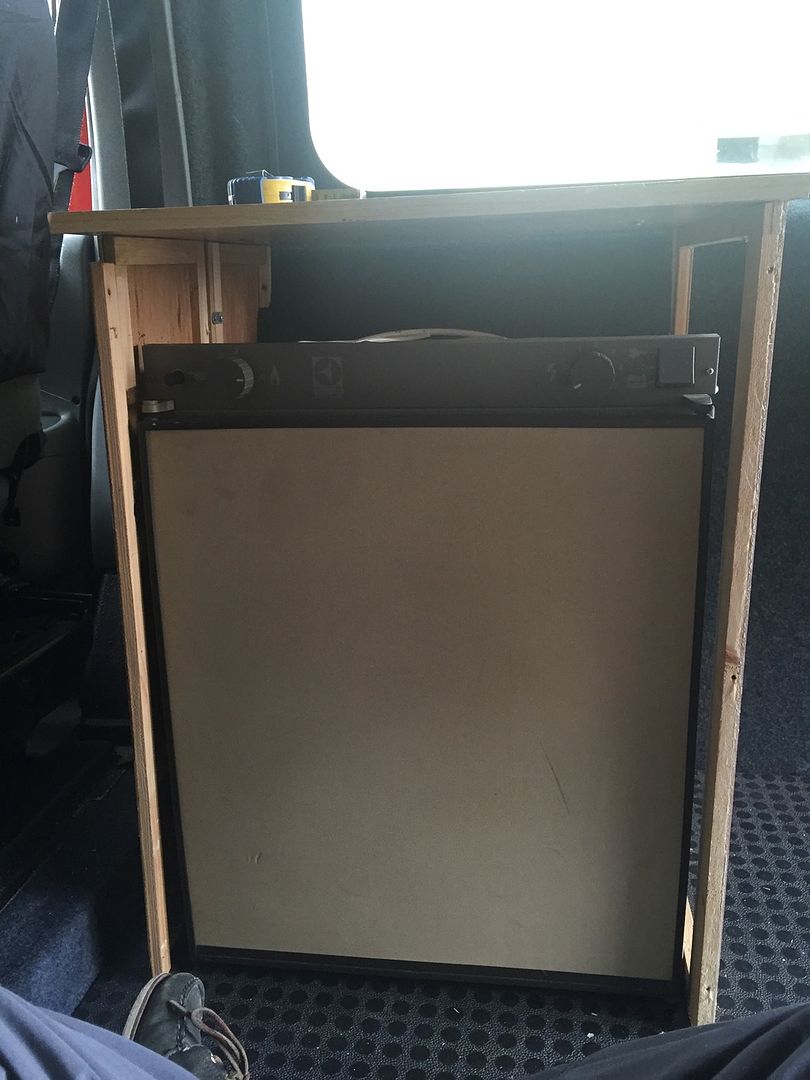
bike rack
table and chairs, etc.First job was to put the fridge in place (behind the driver seat, where all the electrical gubbins will go too) and make a little cabinet to house it (and the 12V panels, etc). Now it doesn't have to be neat, as I'll end up carpeting the sides of it (the vaneer on the donor-van interior isn't the tidiest), so this is what I came up with.
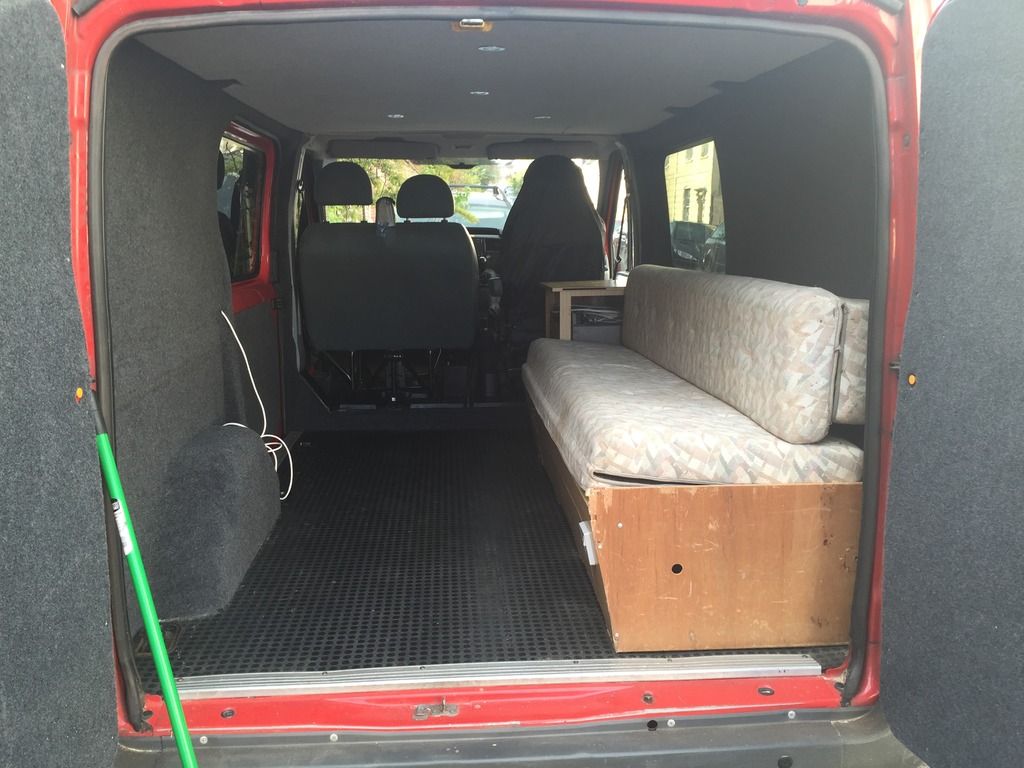
Then came fitting the sofa/bed behind it. It took some modification, and this took the rest of the day. First I had to cut a section to fit round the wheel arch. Then I had to build some supports for it's back. It's designed to be screwed to the ply walls of a caravan, and the white plastic sheeting my walls are made from wouldn't support that, so I built some legs. I then placed it in position to see how it would look.
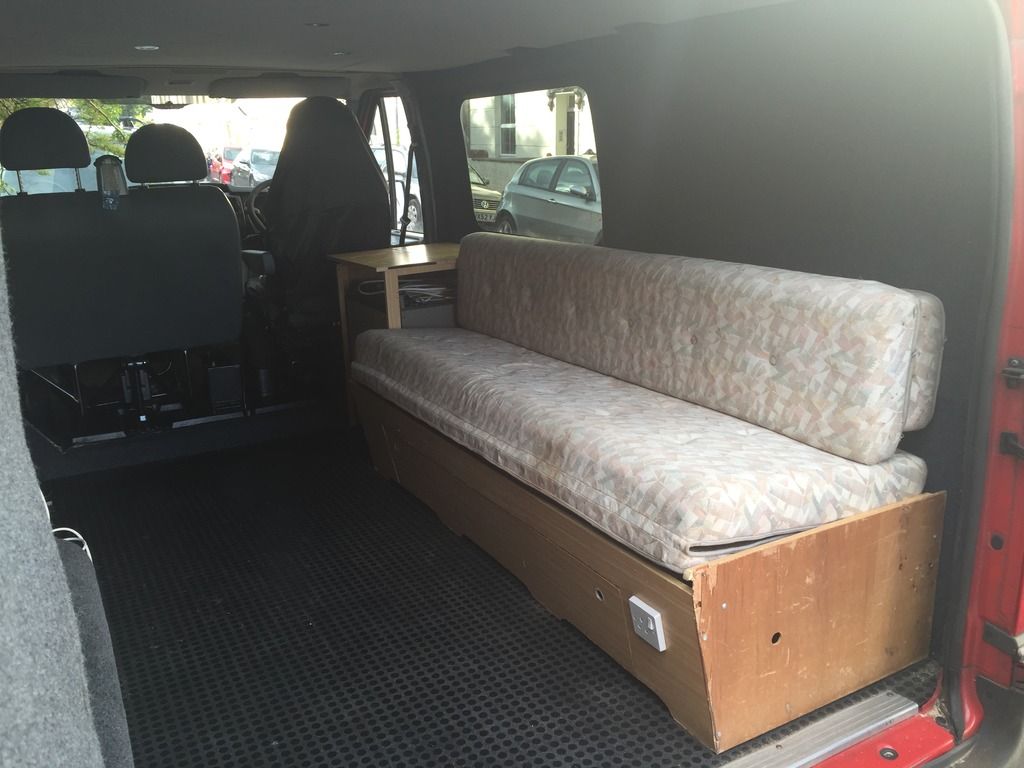
As I was adjusting the sofa, I noticed the plug wiring had a section wrapped in blue electricians' tape. I wondered what it was, as the chap who sold it to be assured me he was a qualified electrical engineer, and he'd given everything a full check over to make sure it was in tip-top condition. Unwrapping it revealed that the "expert" wiring was in fact some 16A cable running to a 13A socket (nothing wrong with that), which had 2 sections joined by twisting the bare wires and wrapping in tape (lots wrong with that!).

Anyone in the market for a small fire?! Needless to say I will checking and wiring the whole thing from scratch!

Anyway, below is how she now looks. I'm pretty happy with it.