*NOW BOOKED FOR 2026* Transitmania 17 @ Santa Pod 17th to 19th July 2026 *ALL DETAILS HERE*
My Mk1 Transit's Restoration Project
Re: My Mk1 Transit's Restoration Project
![]() by irishtransit » Fri Oct 23, 2009 7:43 pm
by irishtransit » Fri Oct 23, 2009 7:43 pm
good looking work going on there.filler should be ok as long as it is sealed properly afterwards. 
- irishtransit
- Transit Devotee

- Posts: 548
- Joined: Sat Jan 12, 2008 11:41 pm
- Location: mallow county cork ireland
Re: My Mk1 Transit's Restoration Project
![]() by spitfire » Fri Oct 23, 2009 9:54 pm
by spitfire » Fri Oct 23, 2009 9:54 pm
Keep up the good work 
Ketil
Norway
Ketil
Norway
Ketil
Norway
ketil.frengen@norgespost.no
2,9 Cosworth V6 1968 mod LWB Twin wheeler
viewtopic.php?f=27&t=49610
Norway
ketil.frengen@norgespost.no
2,9 Cosworth V6 1968 mod LWB Twin wheeler
viewtopic.php?f=27&t=49610
-

spitfire - Transit Aficionado

- Posts: 186
- Joined: Tue May 06, 2008 8:31 pm
- Location: Gjøvik NORWAY
Re: My Mk1 Transit's Restoration Project
![]() by redeemer » Sat Oct 24, 2009 1:31 pm
by redeemer » Sat Oct 24, 2009 1:31 pm
Gerald just an advice; I dont think the filler would be a problem, but to fill holes like those , keep the mig gun further away from the metal, so the resistance the welding wire will offer is more, so smaller current. It will come ugly welding but in that way you will bulid up the hole, then the grinder should do his work 
1982 MK2 SWB 2.5 DI 5 SPEED 70PS now with turbo
1982 MK2 LWB PICKUP 2.5 DI 4 SPEED

1982 MK2 LWB PICKUP 2.5 DI 4 SPEED
-
redeemer - Transit Devotee
- Posts: 609
- Joined: Tue Dec 11, 2007 10:35 pm
- Location: Malta
Re: My Mk1 Transit's Restoration Project
![]() by malta transit » Sat Oct 24, 2009 9:30 pm
by malta transit » Sat Oct 24, 2009 9:30 pm
Thanks mates 
TRANSITS KEEP YOU GOING!!!, GOING!!! AND GOING!!!!!!
-
malta transit - Our man in Malta!
- Posts: 1057
- Joined: Sun Jun 03, 2007 2:13 pm
- Location: malta
Re: My Mk1 Transit's Restoration Project
![]() by VEEMAN » Thu Oct 29, 2009 10:45 pm
by VEEMAN » Thu Oct 29, 2009 10:45 pm
Just a quick tip on filling them small holes with a mig. Split a length of copper plumbers pipe and flatten out into a thin plate. Make sure you have enough to cover the hole. Place on the opposite side to which you are going to weld, wedge in for a tight fit so that the copper is pressed hard up against the hole. Now fill the hole up with the mig starting on the copper plate working towards the edge of the hole to plug it. Then grind back weld smooth. On the back the copper has fused to the weld so might need to be ground off.
The idea of the copper is to absorb the heat away from the weld, hence not blowing a hole through the panel. Then you know what happens, you start chasing holes.
Have restored a few volkswagens in the past and has worked a treat. One last thing, if the panel is like a perforated tea bag and thin, above method will not work. Better renew with new metal.
Hope this helps, and glad to see another old motor back on the roads, keep up the excellent work.
Cheers
VEEMAN
- VEEMAN
- Transit Addict

- Posts: 55
- Joined: Thu Dec 11, 2008 8:05 am
Re: My Mk1 Transit's Restoration Project
![]() by malta transit » Fri Oct 30, 2009 8:17 am
by malta transit » Fri Oct 30, 2009 8:17 am
Thanks VEEMAN, that's a very new good idea to me. I had seen brasing on small holes done on to my car by a panel beater,but haven't seen him doing it. I should try it,though in that particular place there's another body part which can't be acssesed.
TRANSITS KEEP YOU GOING!!!, GOING!!! AND GOING!!!!!!
-
malta transit - Our man in Malta!
- Posts: 1057
- Joined: Sun Jun 03, 2007 2:13 pm
- Location: malta
Re: My Mk1 Transit's Restoration Project
![]() by madmark » Fri Oct 30, 2009 2:27 pm
by madmark » Fri Oct 30, 2009 2:27 pm
veeman great tip that worth keeping in mind! 
- madmark
- Transit Extremist

- Posts: 15467
- Joined: Thu Mar 03, 2005 4:29 am
Re: My Mk1 Transit's Restoration Project
![]() by malta transit » Thu Feb 25, 2010 10:54 pm
by malta transit » Thu Feb 25, 2010 10:54 pm
Back again, I started cutting the passenger side step. Where the splash panel was and outrigger was,they became perforated teabags so i cut off the step.
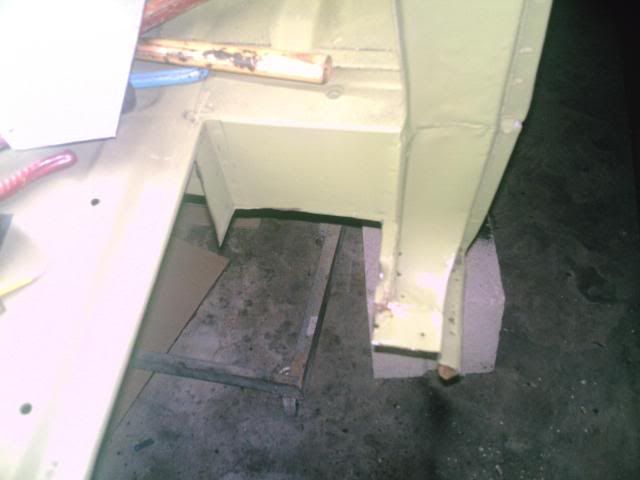
And took away the rusty chassis leg off. At this time i bought a drill bit to drill off spot welds which helped me alot. I also attached it to a flexi cable which i can enter places that the drill couldn't.
I cut off the end of the wheel panel and also a part of the floor;

Then put new metal in and welded;
Then I linished it off for a smoth surface.
And took away the rusty chassis leg off. At this time i bought a drill bit to drill off spot welds which helped me alot. I also attached it to a flexi cable which i can enter places that the drill couldn't.
I cut off the end of the wheel panel and also a part of the floor;
Then put new metal in and welded;
Then I linished it off for a smoth surface.
TRANSITS KEEP YOU GOING!!!, GOING!!! AND GOING!!!!!!
-
malta transit - Our man in Malta!
- Posts: 1057
- Joined: Sun Jun 03, 2007 2:13 pm
- Location: malta
Re: My Mk1 Transit's Restoration Project
![]() by Southerner » Fri Feb 26, 2010 8:54 am
by Southerner » Fri Feb 26, 2010 8:54 am
Excellent thread - Keep Going!
- Southerner
- Transit Aficionado
- Posts: 199
- Joined: Fri Jul 15, 2005 12:16 pm
Re: My Mk1 Transit's Restoration Project
![]() by madmark » Fri Feb 26, 2010 2:53 pm
by madmark » Fri Feb 26, 2010 2:53 pm
- madmark
- Transit Extremist
- Posts: 15467
- Joined: Thu Mar 03, 2005 4:29 am
Re: My Mk1 Transit's Restoration Project
![]() by ztorm » Fri Feb 26, 2010 7:19 pm
by ztorm » Fri Feb 26, 2010 7:19 pm
Top Job Malta! Glad to see you back in "business"
Still (t)rust in my Tranny
www.ztorm.nl
www.ztorm.nl
-

ztorm - Transit Aficionado
- Posts: 233
- Joined: Mon Mar 09, 2009 7:15 pm
- Location: Den Helder, Holland
- irishtransit
- Transit Devotee
- Posts: 548
- Joined: Sat Jan 12, 2008 11:41 pm
- Location: mallow county cork ireland
Re: My Mk1 Transit's Restoration Project
![]() by malta transit » Wed Mar 03, 2010 10:25 pm
by malta transit » Wed Mar 03, 2010 10:25 pm
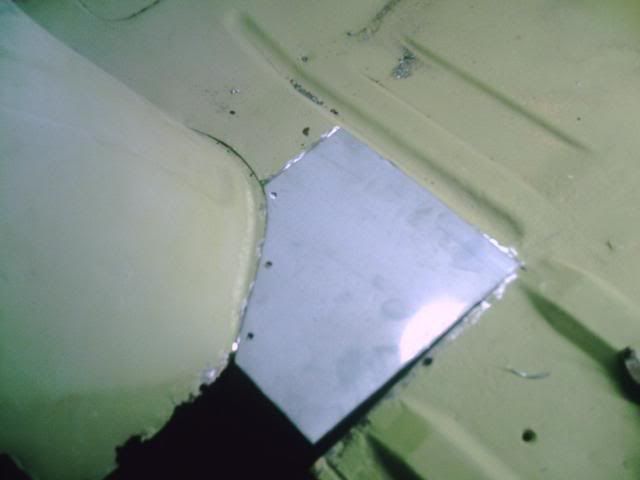
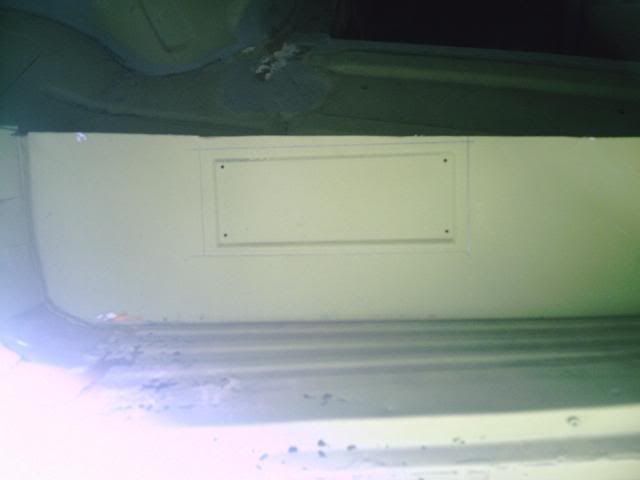
Today i just cutted the information back insert plate from the old step, as the reproduction step has no reeses.First i marked a rectangular on the old step then cut it out.
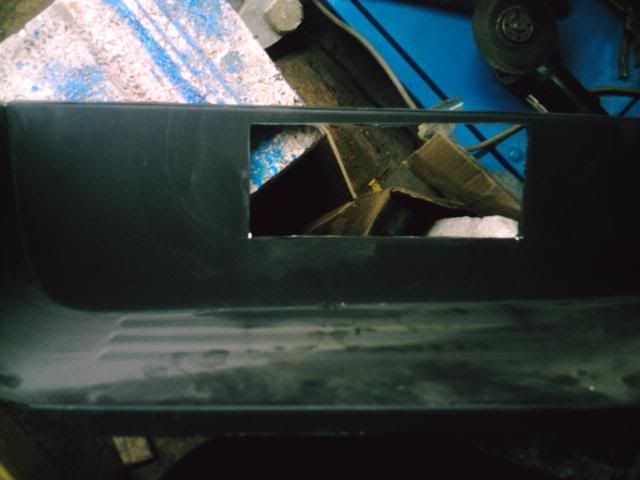
Then i marked the new step with the cut of bit which i'm going to use.

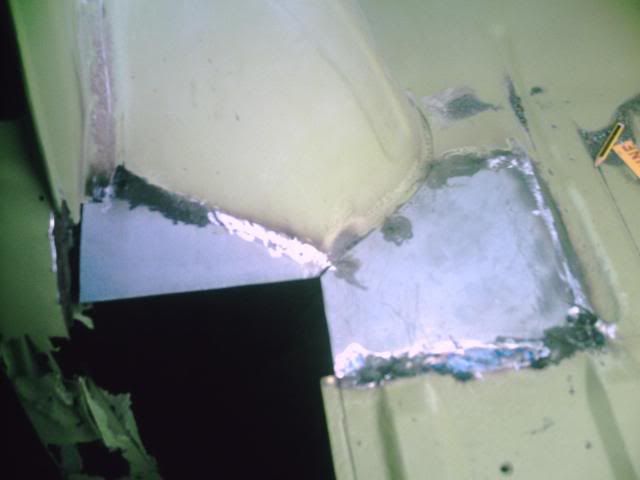
Then cut of the unwanted metal, and
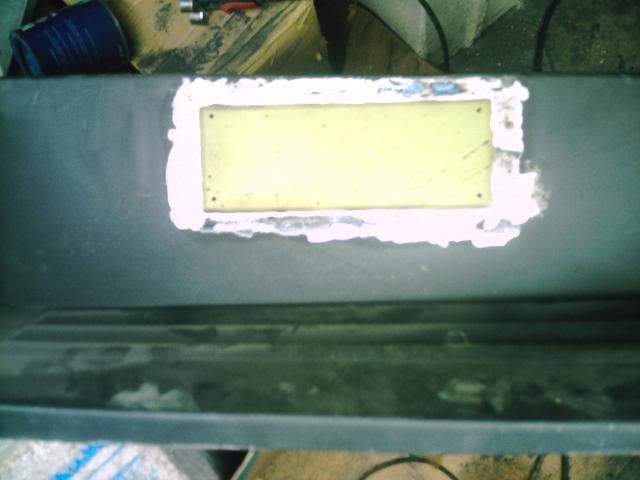
Then welded the old plate in and linished it.
 .
.
Then i marked the new step with the cut of bit which i'm going to use.
Then cut of the unwanted metal, and
Then welded the old plate in and linished it.
.TRANSITS KEEP YOU GOING!!!, GOING!!! AND GOING!!!!!!
-
malta transit - Our man in Malta!
- Posts: 1057
- Joined: Sun Jun 03, 2007 2:13 pm
- Location: malta
Re: My Mk1 Transit's Restoration Project
![]() by malta transit » Mon Jul 19, 2010 9:38 pm
by malta transit » Mon Jul 19, 2010 9:38 pm
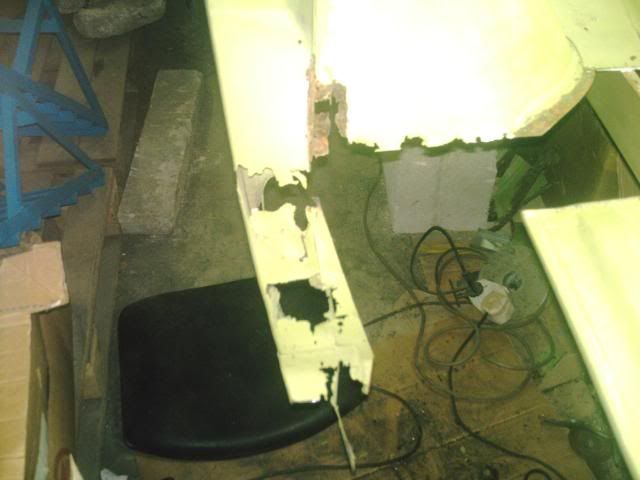
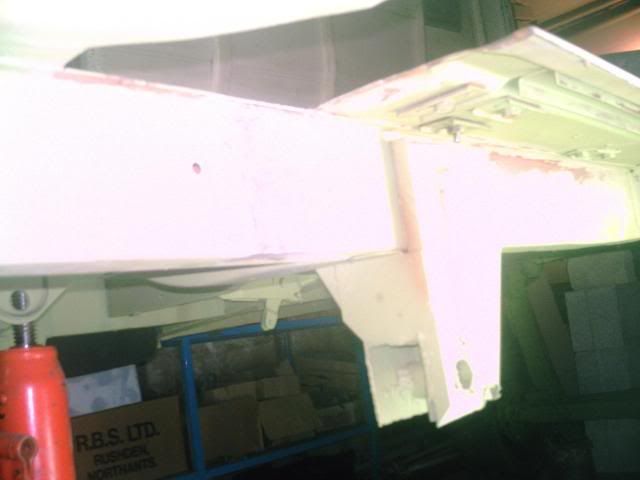
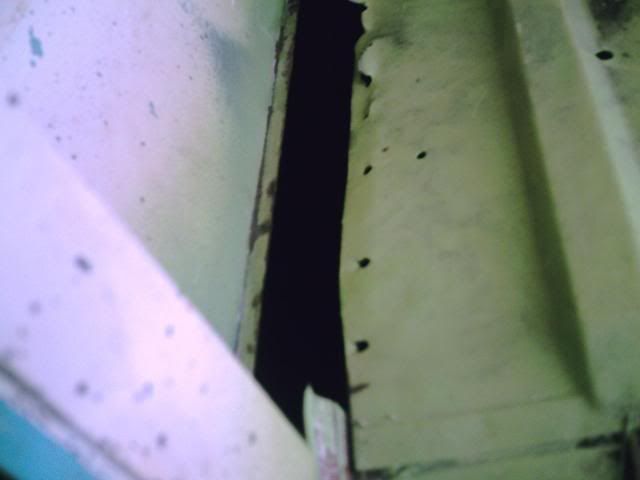
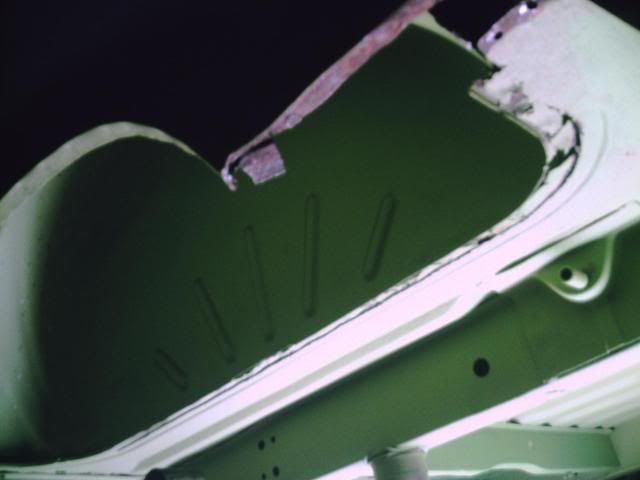
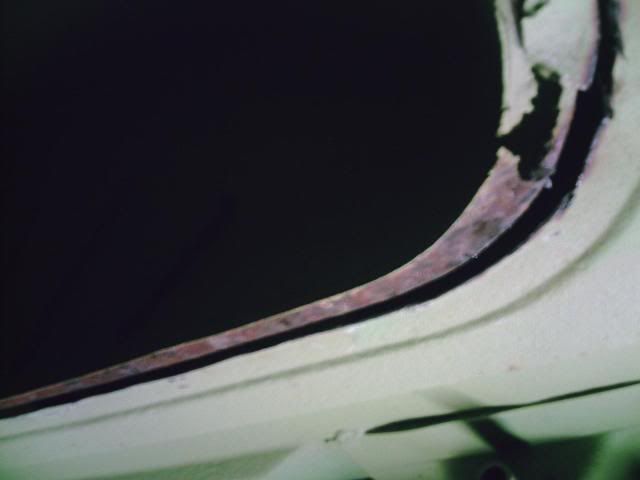
Hi, after seeing Madmark's Mk1, i found back my inspiration. last week i got back to my van and sitting on the floor started thinking how to tackle the side lower end panel. As one could see i tackled it quiet a few times, but now i decided to cut up more upwards and elimininate all the raw metal.
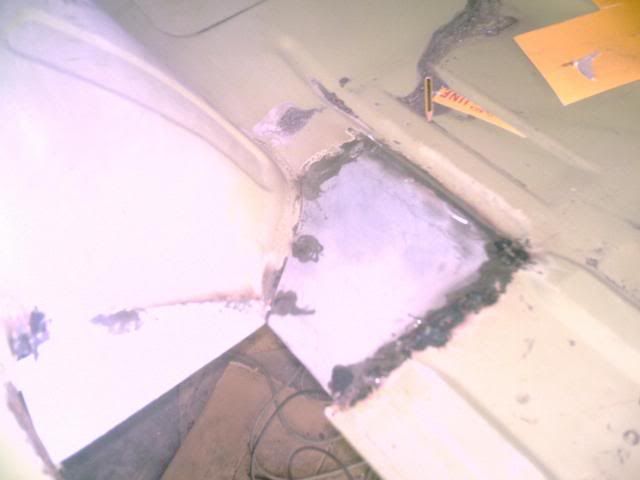
I drilled all the spot welds from the inner side floor and stated chisling the innerside metal out:
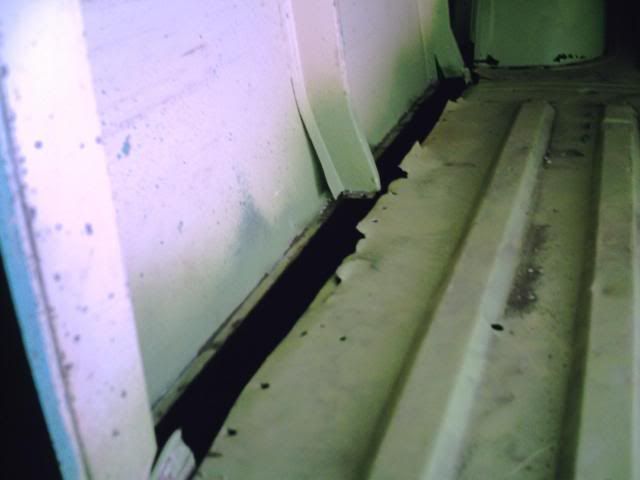
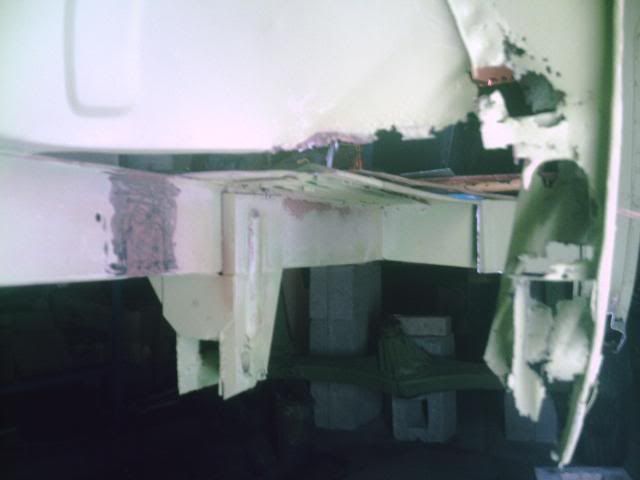
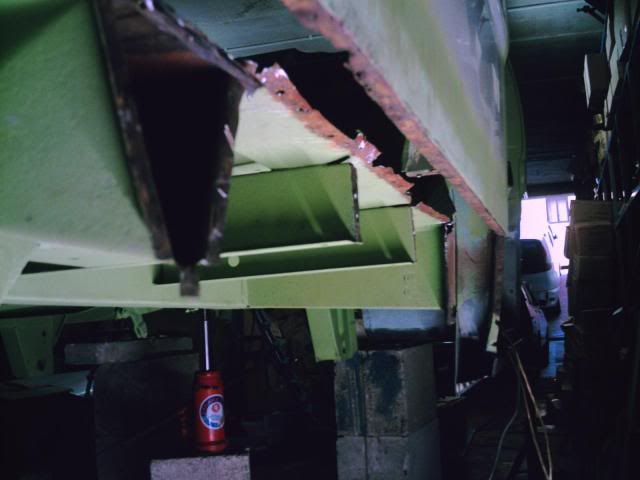
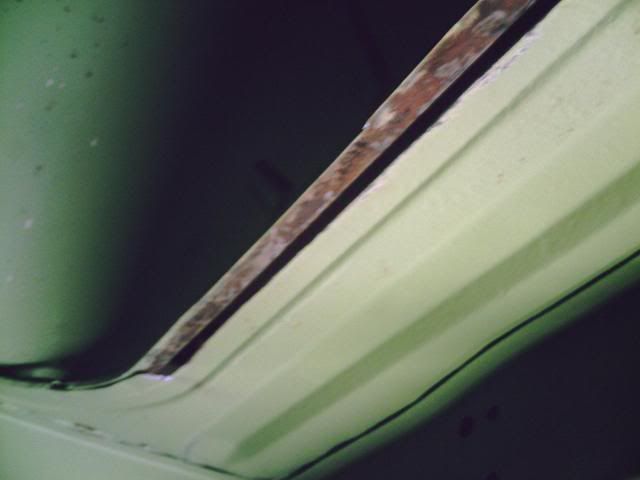
The veiw from outside. The metal which was spot welded to the outriggers were terrible to drill out as the spotweld drill bit has to be straight to drill, i could not drill them out not even with a flexi extation. At the end i cut out the metal in many parts with a chasser from the outer side. Then cleaned and grinded them flat.
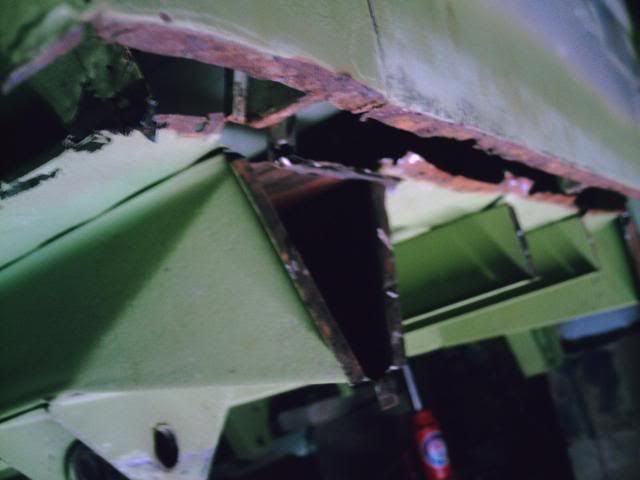
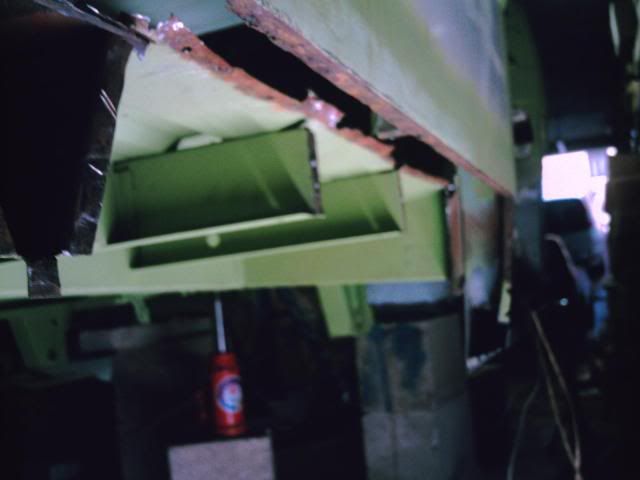
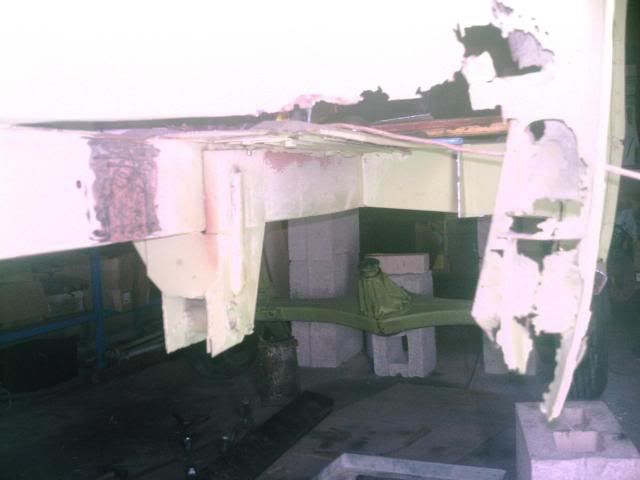
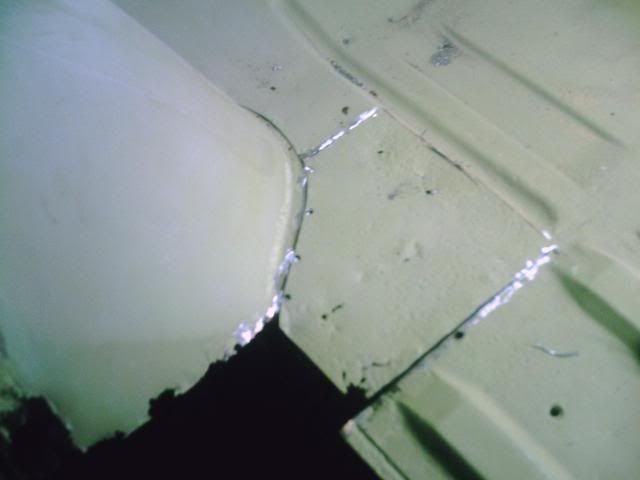
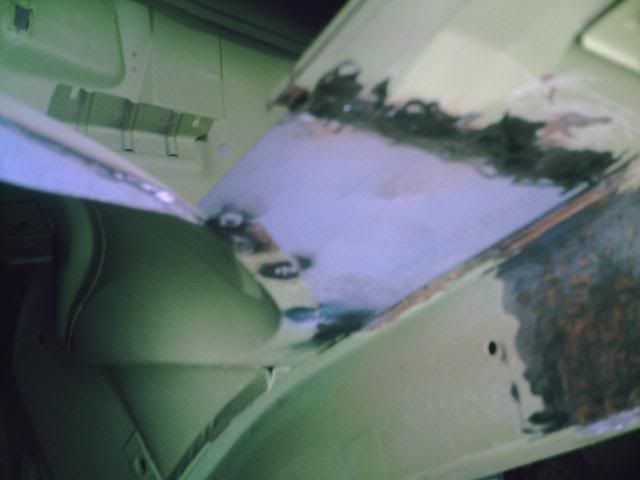
After finishing this, I was going to measure the metal cut off to replace it, but realized that i had to do the lower inner wheel cover first. Where the bowl is spotwelded to the floor,rust has bodged up so i had to cut off the rot and clean well to put new meal inn first.
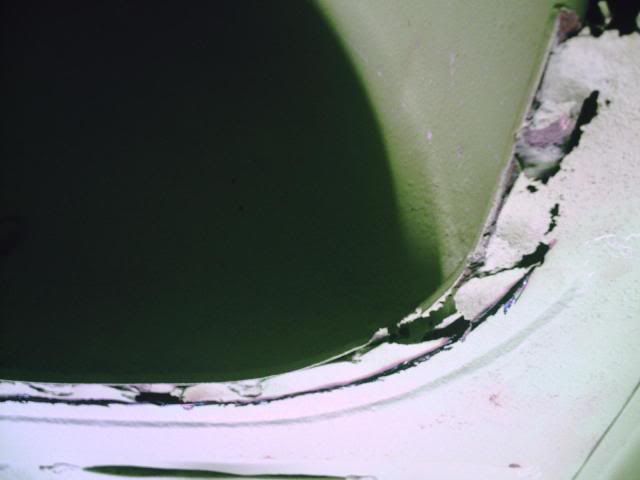
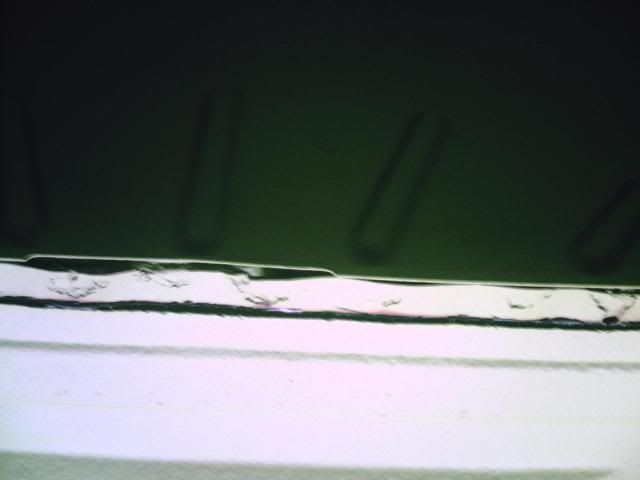
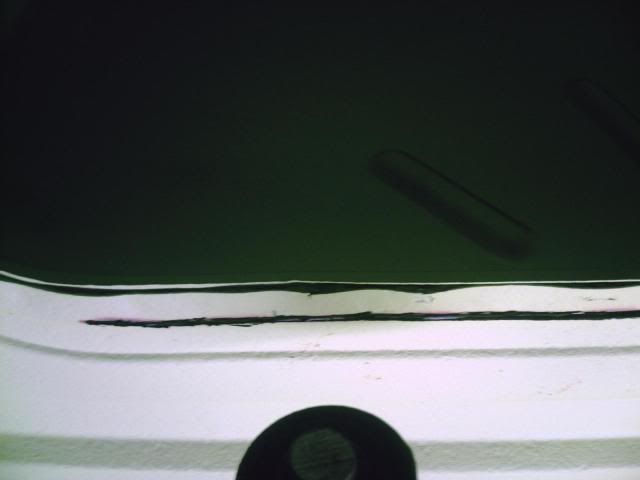
Cut and cleaned;
If i ll have chance this week, i ll try and see if i can weld in new metal.
I drilled all the spot welds from the inner side floor and stated chisling the innerside metal out:
The veiw from outside. The metal which was spot welded to the outriggers were terrible to drill out as the spotweld drill bit has to be straight to drill, i could not drill them out not even with a flexi extation. At the end i cut out the metal in many parts with a chasser from the outer side. Then cleaned and grinded them flat.
After finishing this, I was going to measure the metal cut off to replace it, but realized that i had to do the lower inner wheel cover first. Where the bowl is spotwelded to the floor,rust has bodged up so i had to cut off the rot and clean well to put new meal inn first.
Cut and cleaned;
If i ll have chance this week, i ll try and see if i can weld in new metal.
TRANSITS KEEP YOU GOING!!!, GOING!!! AND GOING!!!!!!
-
malta transit - Our man in Malta!
- Posts: 1057
- Joined: Sun Jun 03, 2007 2:13 pm
- Location: malta
Re: My Mk1 Transit's Restoration Project
![]() by madmark » Mon Jul 19, 2010 9:40 pm
by madmark » Mon Jul 19, 2010 9:40 pm
- madmark
- Transit Extremist
- Posts: 15467
- Joined: Thu Mar 03, 2005 4:29 am
Return to Members Transit's - Progress Reports!
Who is online
Users browsing this forum: No registered users